
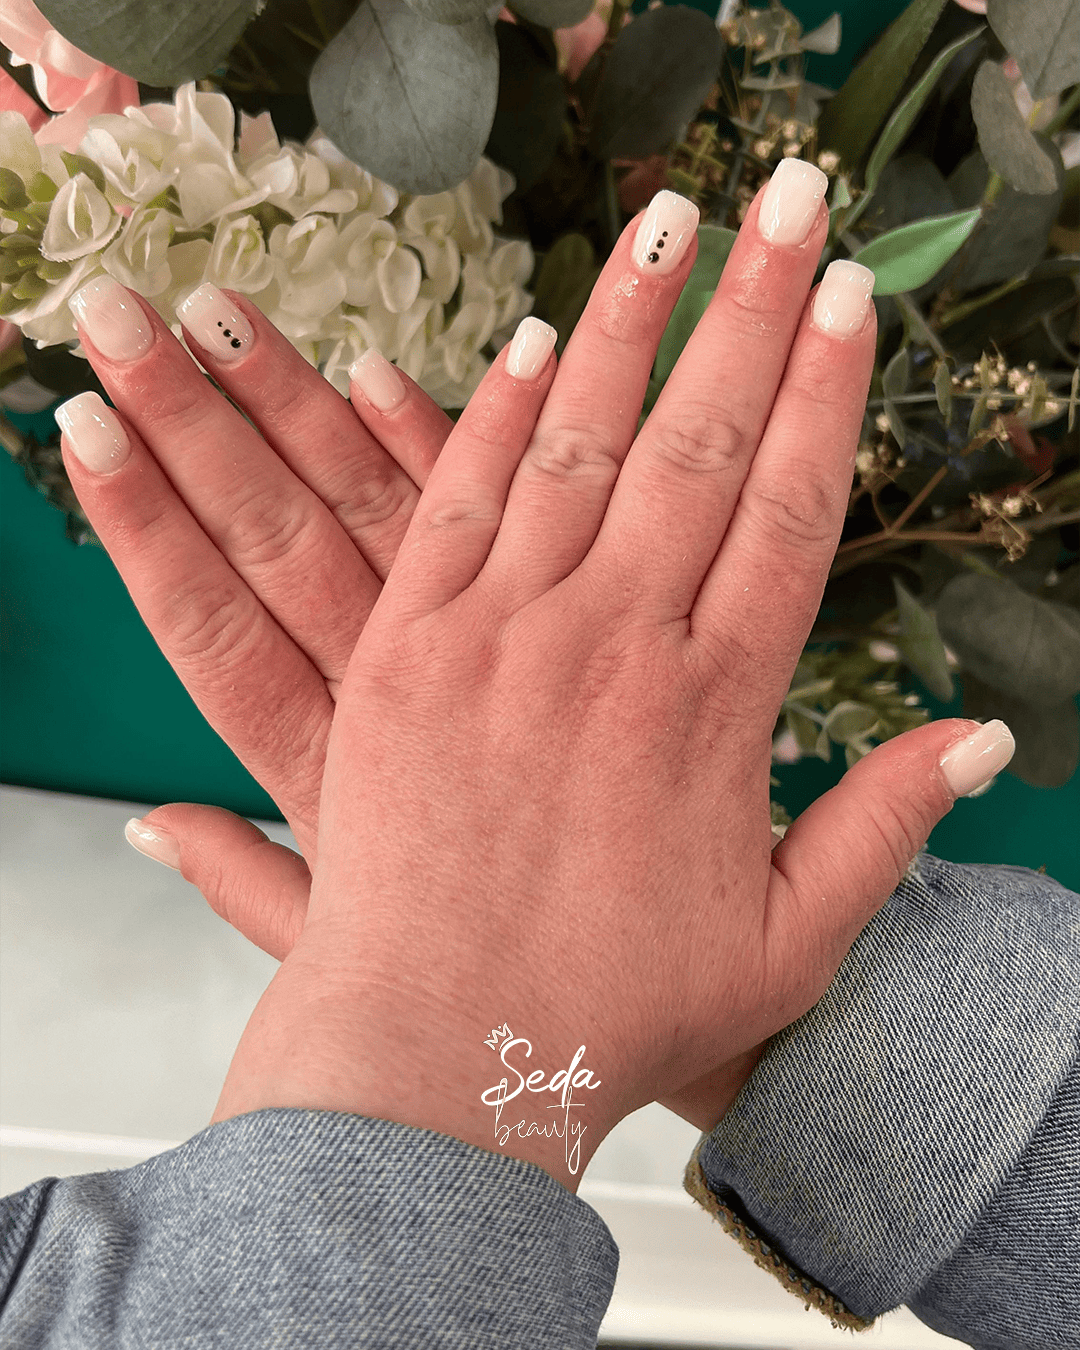
People see well kept beautiful nails as an expression of personal grooming and fashion choices. With the right techniques, tools, and a bit of patience, you can achieve stunning manicures at home that look just as good, if not better, than professional treatments. People can create professional nail designs through their acquired knowledge and available tools when they dedicate enough time to learn.
Home users gain financial benefits from learning to perform salon quality manicures because they can select their own hygienic practices and product selections and schedule their work. The complete guide to home manicure procedures provides users with simple solutions to their problems.
Why Manicures at Home Are Becoming So Popular
In recent years, more people are embracing manicures at home because they want to include this activity in their regular self care routines. This shift leads to two benefits because people save money but also enjoy better convenience and personal comfort.
The salon visit requires you to manage appointment times and travel duration and waiting times. You can do your manicure at home because it removes all of those requirements. You can take your time to try different nail shapes and colours until you achieve the desired result because you can repeat all the steps multiple times.
Nail care at home enables you to practice greater product awareness during your treatment process. People today choose non toxic and cruelty free and vegan nail products because they have become more aware of product ingredients. The busy salon environment prevents you from reaching this level of control.
Customers who regularly visit Waltham Cross Nail Salon now adopt home maintenance practices that they use to extend their professional nail treatments between appointments.
Essential Tools You’ll Need for a Professional Finish
Before you begin, having the right tools is absolutely essential. A professional looking salon quality manicure at home starts with proper preparation.
| Tool | Purpose | Detailed Tip |
| Nail file | Shapes and smooths edges | Always file in one direction to avoid splitting and weakening the nail |
| Nail buffer | Creates a smooth surface | Use lightly to remove ridges without thinning the nail plate |
| Cuticle pusher | Pushes back cuticles | Best used after soaking when cuticles are soft |
| Cuticle oil | Hydrates and nourishes | Apply daily for stronger, healthier nails |
| Base coat | Protects and primes nails | Prevents staining and improves polish adhesion |
| Nail polish | Adds colour and style | Choose high quality formulas for longer wear |
| Top coat | Seals and protects | Adds shine and prevents chipping |
| Nail polish remover | Cleans nails | Opt for acetone free to reduce dryness |
Investing in these basics will dramatically improve your manicure at home results and make the process feel more professional.
Step by Step Guide to Achieving Flawless Manicures at Home
People need to establish their beauty routine through following a systematic approach because they want to achieve perfect nail results at home. Many people jump straight into applying polish but the actual method which produces salon quality results at home requires proper preparation and correct application techniques and essential final details. The essential process starts with cleaning and shaping your nails which should be followed by applying products in their designated order.
The most effective way to create an enduring professional appearance for your home manicure exists through breaking the procedure into separate tasks which you can execute in steps. The following DIY manicure steps will guide you through everything you need to know, helping you build a consistent nail care at home routine that delivers beautiful, long lasting results every time.
1. Remove Old Polish Thoroughly
The foundation of all great manicures at home is a clean nail surface. The proper method for removing old polish will create a base that allows your new application to achieve perfect and seamless results.
You should choose a gentle acetone free remover because harsh products will cause your nails and surrounding skin to become dry. The process requires your full attention, as any speed will leave behind remnants that stop new polish from sticking properly.
You should hold a soaked cotton pad on your nail for several seconds when you need to remove glitter polish or gel remnants. The process becomes simpler because this method decreases the amount of rubbing that needs to be done.
2. Trim and Shape with Precision
The process of nail shaping stands as the essential step for all DIY manicure projects. Your selected shape will transform the complete appearance of your hands.
You must first cut your nails until you reach your preferred length before using a nail file to shape your nails. The common shapes that people use today include Square which has a modern appearance and Oval which creates a gentle natural look and Almond which provides both elegance and lengthening effects.
The proper filing technique requires you to move the file in a single direction because back and forth motion creates hairline cracks in your nails. Your extended dedication during this phase of your home manicure process will create a polished appearance which demonstrates your attention to detail instead of showing signs of haste.
3. Soak to Soften Cuticles
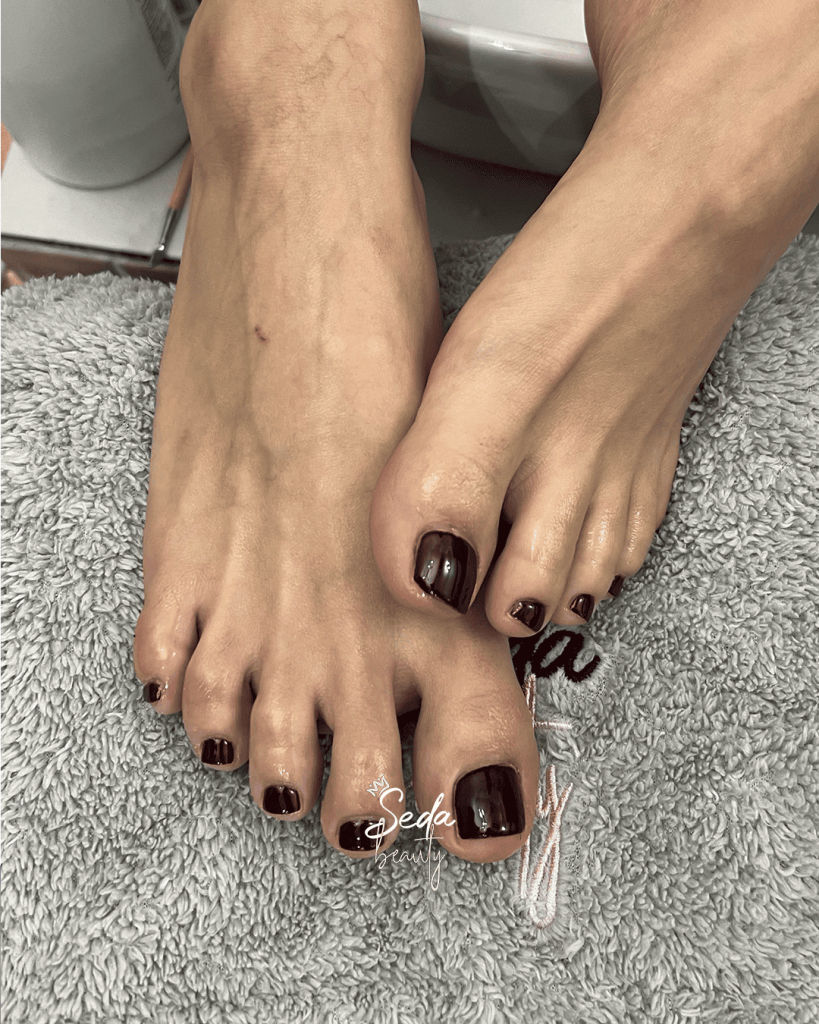
The process of hand soaking requires warm soapy water which needs to be applied for a duration of 5 to 10 minutes to achieve its purpose of cuticle softening and nail preparation. People who want to do their nail care at home need to complete this step which people usually forget during fast paced activities. Soft cuticles are easier to push back and less likely to tear or become damaged. The step can be improved by adding two drops of oil or using a mild hand soak solution to the water.
4. Gently Push Back Cuticles
Home manicure services require cuticle maintenance because it serves as an essential component for achieving professional results. The softened cuticles should be pushed back using a cuticle pusher after the soaking process. People should avoid cutting their cuticles except for cases that require it. The practice of cutting cuticles increases the likelihood of developing infection and irritation. People should establish a routine that involves using oils and doing gentle push maintenance to protect their cuticles. Healthy cuticles not only enhance the visual appeal of your nails but also support improved nail development.
5. Buff for a Smooth Nail Surface
The process of buffing creates an even surface which enables the polish to apply without any interruptions. The DIY manicure step which most people fail to recognise actually produces major improvement to the final outcome.
You should use a soft buffer while applying light pressure to your nails. The nail plate becomes weaker through excessive buffing which requires you to achieve only a minor smoothing effect instead of a complete shiny finish.
This process guarantees that your home manicure achieves a perfect professional appearance.
6. Clean and Prepare the Nail Plate
The process requires complete cleaning of surfaces before any polish application. You should either wash your hands or clean your nails using a cleanser or alcohol based solution.
The process needs this step because leftover oils from your hands will make your nail polish start to peel off within two weeks. The process needs this step because it functions like a base coat that prepares the entire process.
7. Apply a Protective Base Coat
The base coat establishes an active protective barrier which keeps your natural nails safe from nail polish. The product prevents stains while it strengthens nails and improves their ability to hold colour. The first step toward learning home manicure techniques requires you to complete this step. The ability to achieve professional outcomes depends on this particular aspect. The base coat needs to dry completely before you can continue with your next procedure.
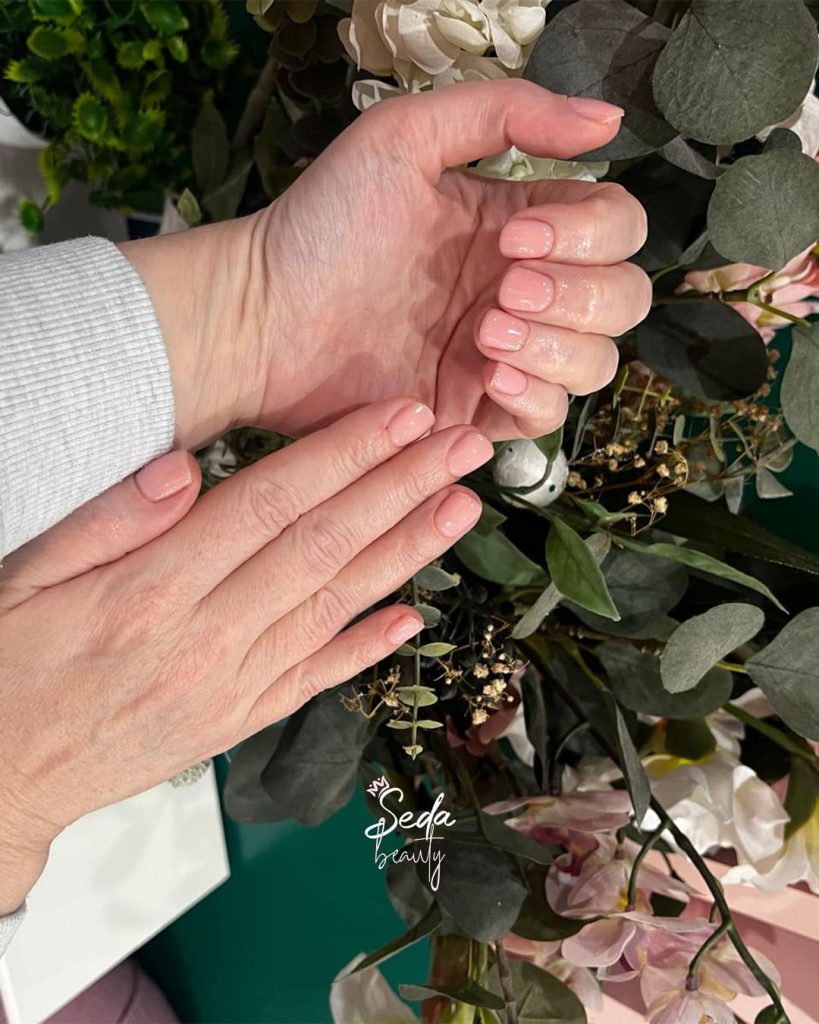
8. Apply Nail Polish in Thin Layers
Many people find it difficult to apply polish correctly. The proper application method requires artists to use multiple thin layers instead of applying single thick layers. The artist should begin by applying a central stroke that runs down the center of the nail before creating additional strokes that extend across both sides. Two thin coats are usually enough for full coverage. This technique enables people to create professional quality nail designs at home while preventing streaks and bubbles and uneven drying.
9. Seal Everything with a Top Coat
The top coat keeps your colour in place while it provides shine and protects your nails from damage. The top coat creates the final glossy appearance which makes your home manicures look complete.
You should apply a new top coat every 2 to 3 days for optimal results. Your manicure will last longer through this basic daily practice.
10. Hydrate and Maintain Regularly
The complete process ends with maintenance work. Apply cuticle oil and hand cream to keep your nails and skin hydrated. The best nail oil for growth should be used all the time because it helps nails become stronger while reducing breakage and making nails look better. A home nail care routine will help your manicure stay beautiful from the first day until several days later.
Common Mistakes to Avoid
Even with the best intentions, mistakes can happen. The following list includes several common problems which people should monitor.
- The application of thick polish layers results in smudging.
- Base and top coat applications create an essential protective barrier which enables better product performance.
- People who cut their cuticles need to stop using excessive force.
- Excessive drying time between coat applications requires people to wait until complete drying occurs before they can apply their next coat.
Your home manicure results will show immediate improvement when you stop making these errors.
Expert Tips for Better Results
If you want to elevate your manicures at home,keep these professional tips in mind.
- Nail edges should be sealed because this technique protects against chipping.
- After painting nails,people should stay away from hot water.
- Users should put on gloves before they start cleaning or dishwashing.
- Customers should apply a top coat again throughout the day.
The salon quality manicure at home will last longer with these minor changes.
Home manicure creation goes beyond basic beauty procedures because it serves as both a self care method and a creative expression. Through proper methods and suitable equipment and dedicated practice you can reach professional outcomes from your home workspace. The DIY manicure guide provides step by step instructions that enable beginners and experienced practitioners to develop their home manicure skills. Your abilities will develop throughout the years and your nails will become a genuine expression of your unique style.
0 Comments